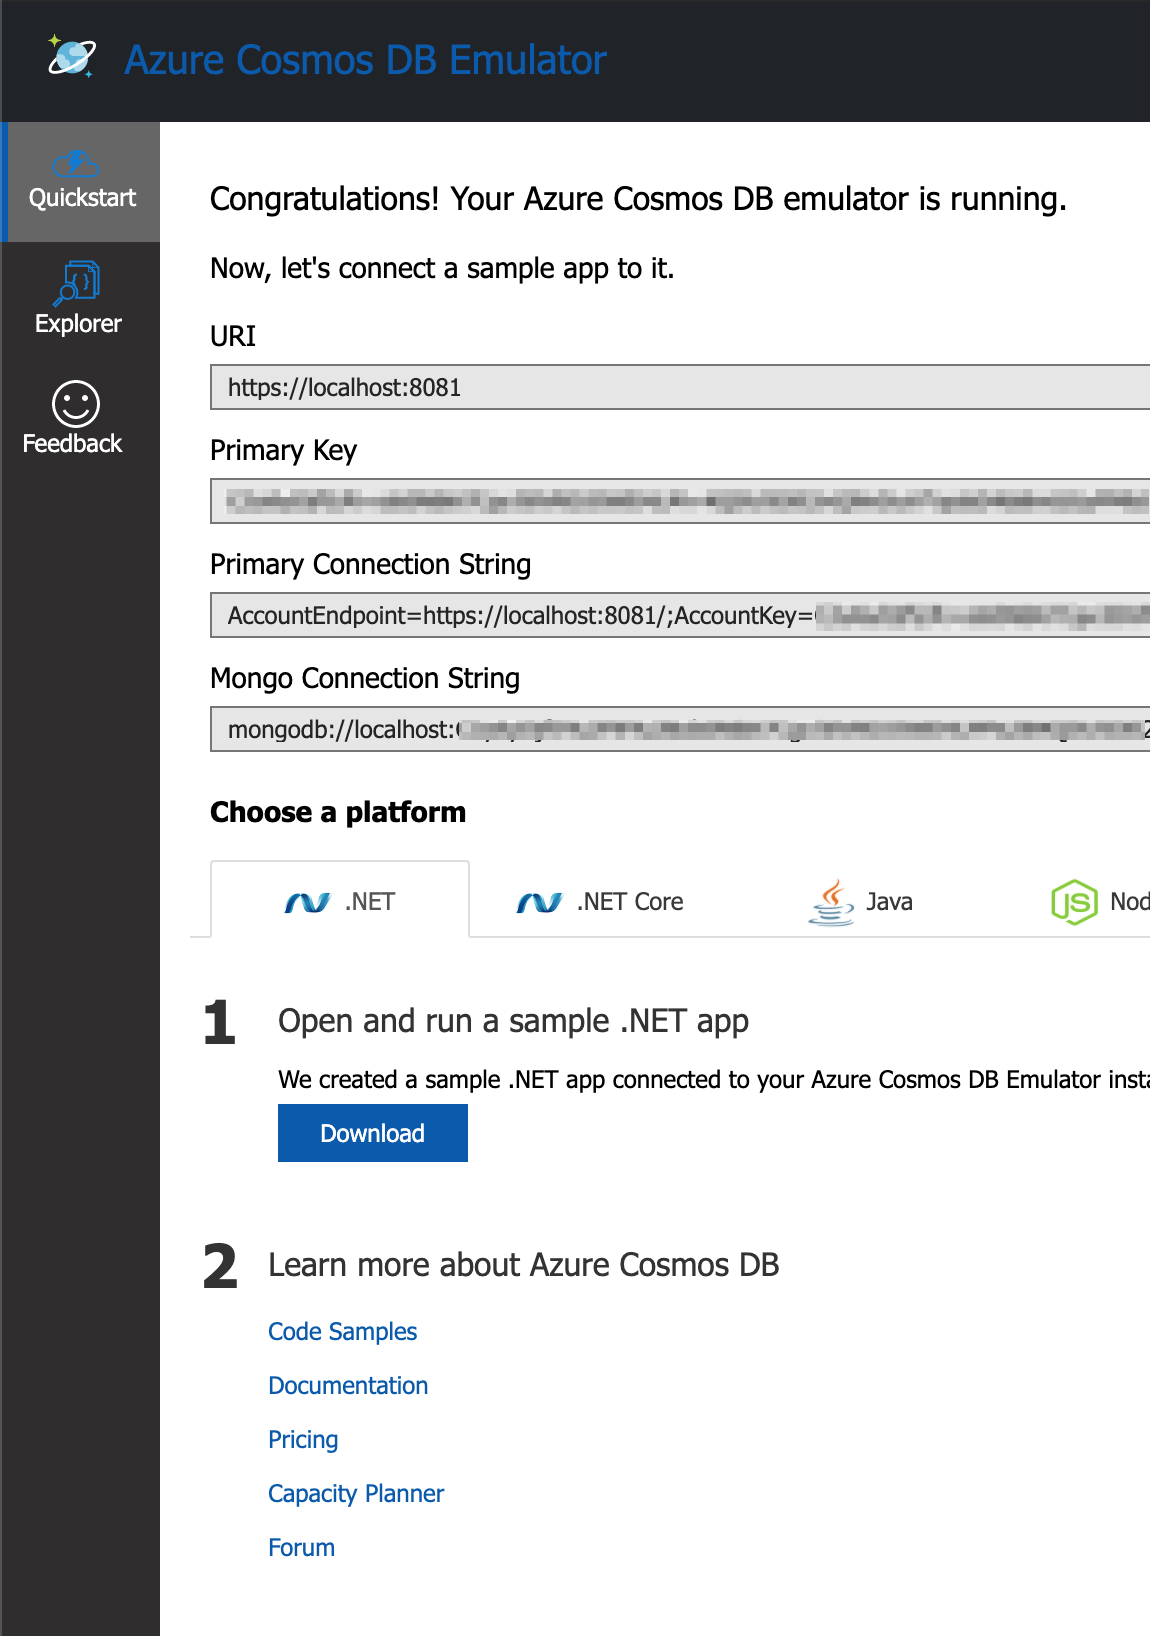
A recent project for my day job seemed like a good fit for a document database. As we are hosted in Azure, it seemed like I should check out Cosmos DB. And why not? They have a free tier (although rather limited) as well as an emulator for local development. That's great, except I primarily develop from a Macbook Pro. The emulator is Windows only.
The emulator does run in Docker, and I run Docker on my Mac to allow me to run Sql Server without the need for a Windows VM and a full blown install of Sql Server. However, the Docker image for the emulator also only runs on Docker for Windows. Looks like you either need a Windows machine on your network or a Windows VM. I already have a Windows VM that I use from time to time for other Windows only things (like SSMS). So, following the instructions for installation in the documentation is pretty straight forward. However, unlike connecting to my Sql instance from my Windows VM, connecting to the Cosmos DB instance from my Mac is a bit more complicated. Make sure to follow the steps to enable access from the local network. This will create the certificate that is needed.
Before you export the certificate, make sure you have the networking set up between your host and VM. I used bridged networking. You will also need to get the IP of your Windows VM. That can be done from the Windows command line using "ipconfig". If you need to change your networking, it seems you will need to restart the emulator before you export the certificate.
There are instructions for exporting the certificate required to connect and importing it on your Mac, but they aren't quite right. Maybe incomplete would be more accurate? It does not have you export the private key. When you don't export the private key, you can't export as a .pfx file. But, if you follow the steps as written until step 5, and select Yes, export the private key, you can then select the .pfx format in step 6.
Because you are exporting the private key, you need to protect it with a password. Be sure to use a strong password and store it in a safe place! You'll need it again when you go to import the pfx on the Mac side.
Following the instructions for importing the pfx seems to be straight forward and accurate. Follow those as written and you should be all set. Just remember to use the password you set when you exported it.
Once the certificate is imported on your Mac and you've trusted it, you should be able to navigate to https://
From there, you can download one of the sample apps, update the connection string and start playing with Cosmos DB!
Good luck!