
The trailer I have been cleaning up has two electrical junction boxes. One in the trailer toward the back (see my last post), and one on the tongue at the front. The front, at one time, had a plastic cover. Over the years of sitting in a field, or countless trips of hauling Scouting supplies to campgrounds all over the region, it broke off. I say broke, because the screw that holds it on was still there, with a little donut of plastic behind it. Time to make a new one.
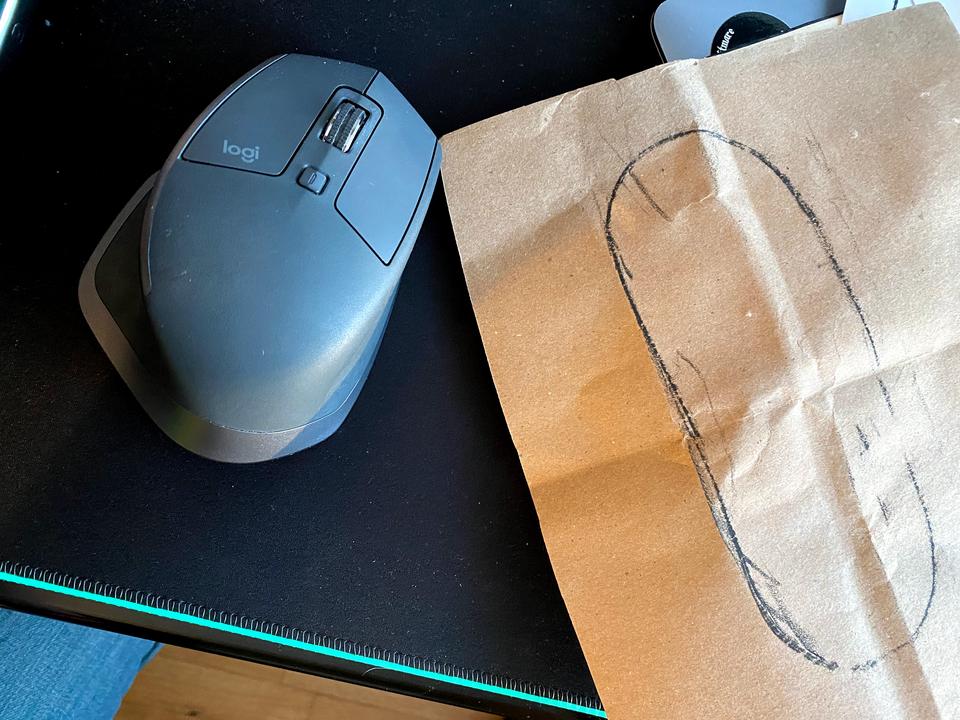
rubbingTo start the process, I took a rubbing of the box. That was done with a black crayon and a piece of brown paper grocery bag. That got me the basic shape and size. From there, I measured it and subtracted a couple of millimeters to get the outer dimensions. I also took a couple measurements for the depth of the sidewalls and the screw recess. Off To Fusion 360!
Fusion 360In Fusion, I drew a quick sketch and created the basic face shape. I extruded it 1mm and printed it. That was enough to confirm that I had the basic dimensions correct. Turns out, I nailed it! From there, I added sidewalls and a recess for the screw. I even threw in some fancy fillets to give everything a nice curvy look. Although, if I were doing it again, I'd increas the radius of those fillets. Printed, they didn't come out as pronounced as I'd like.
Cover installedHere it is installed. The first layer didn't come out quite as nice as I'd like, but hey, it's good enough for now. I printed it in some gray PLA+ that I had on hand. Hopefully it's tough enough to last a little while. It's scheduled to take a 750 mile trip here shortly. If it doesn't make it, I may make a couple modifications to it and try it again. Most notably, I'd increase the height of the sidewalls and reprint it in PETG. I have high hopes for it though!